Preparing Your Gear for a Successful Rocky Mountain Hike

A group of hikers reaches the summit of Ha Ling Peak just as a sudden mountain thunderstorm rolls in. They have light cotton t-shirts on, no waterproof layers, and their phone batteries are dying from the cold. This situation is exactly what happens when people underestimate the rapid weather shifts in the Bow Valley. This post breaks down the specific gear you need to stay safe, dry, and comfortable while hiking in the Canadian Rockies.
What Should I Wear for Hiking in the Rockies?
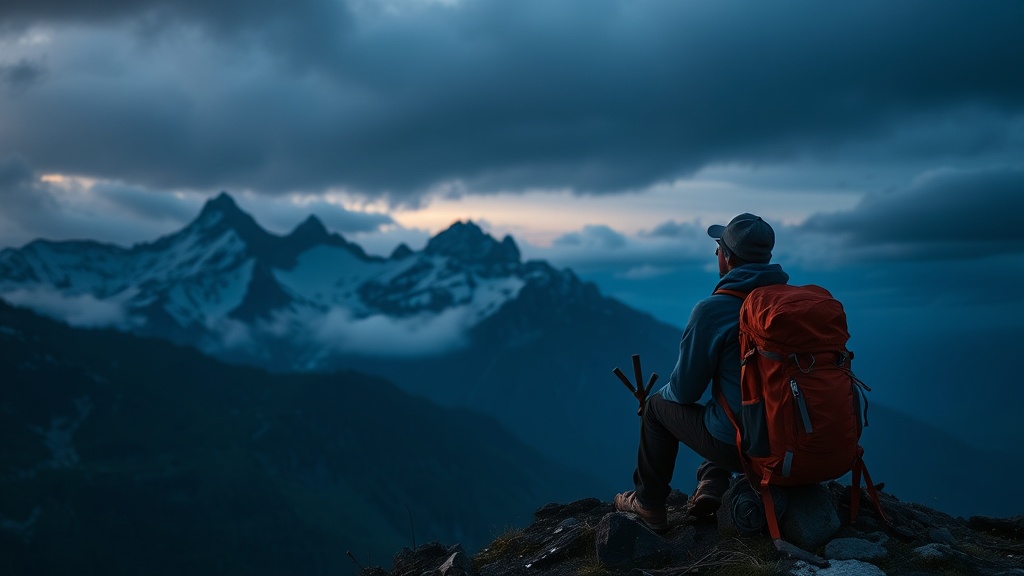
The best approach to mountain clothing is a three-layer system designed to manage moisture and regulate temperature. In Canmore, the weather can shift from a sunny 20°C to a freezing downpour in under thirty minutes. You can't rely on just one heavy jacket; you need layers that you can add or remove as you climb.
1. The Base Layer (Moisture Management)
Avoid cotton at all costs. Cotton absorbs sweat, stays heavy, and pulls heat away from your body—which is a recipe for hypothermia if the temperature drops. Instead, use synthetic fabrics or Merino wool. Brands like Smartwool or Icebreaker are the gold standard here. Even a simple polyester gym shirt from a local shop works better than a cotton tee.
2. The Mid Layer (Insulation)
This is your warmth provider. A lightweight fleece or a "puffy" jacket (like the Patagonia Down Sweater) keeps your body heat trapped. If you're heading up a steeper trail like Mount Rundle, a breathable fleece is often better than a bulky down jacket because it allows more sweat to escape during the ascent.
3. The Outer Layer (Protection)
This is your shell. It must be waterproof and windproof. A hard-shell jacket from a brand like Arc'teryx (which, let's be honest, is practically the unofficial uniform of Canmore) is a great investment. It doesn't matter how good your hiking boots are if your upper body is soaked through by a mountain squall.
The Layering Hierarchy
| Layer Type | Primary Function | Recommended Material |
|---|---|---|
| Base Layer | Wick sweat away from skin | Merino Wool or Synthetic |
| Mid Layer | Trap heat and provide warmth | Fleece or Down/Synthetic Insulation |
| Outer Shell | Block wind and rain/snow | Gore-Tex or similar waterproof membrane |
What Kind of Hiking Boots Do I Need?
You need sturdy, waterproof hiking boots with good ankle support and deep tread (lugs) to handle the rocky, uneven terrain of the Rockies. While trail runners are popular for shorter, flatter walks, they won't protect your ankles if you're scrambling over loose scree or navigating a muddy slope after a rainstorm.
The terrain in the Bow Valley is often composed of loose limestone or granite. This means your footwear needs to be more than just "comfortable." It needs to be durable. If you're planning on doing more technical hikes, look for a boot with a stiff midsole. This prevents your feet from feeling every single rock underneath you.
A few things to look for when shopping locally:
- Ankle Height: Mid or high-cut boots offer better stability on technical trails.
- Waterproofing: Look for a Gore-Tex liner to keep your feet dry during snowmelt or rain.
- Traction: A Vibram sole is highly recommended for better grip on wet rock.
Don't forget to break your boots in before a big hike. There is nothing worse than a blister halfway up Grassi Lakes because you wore brand-new boots for the first time. Researching different boot constructions can help you understand why some are better for heavy packs and others are better for light day hikes.
How Much Water and Food Should I Carry?
You should carry at least 2 liters of water for a moderate half-day hike and more if you are tackling higher elevation or steeper climbs. Dehydration is a common cause of fatigue and headaches in the mountains, and the dry air in Alberta can dehydrate you faster than you realize.
Food is your fuel. When you're climbing, your body burns through calories rapidly. Don't just pack a single heavy sandwich; pack high-energy, easy-to-eat snacks that you can consume while walking.
The Ideal Hiking Snack List:
- Electrolytes: Add a tablet like Nuun to your water to maintain salt levels.
- Nuts and Seeds: Great for sustained energy and healthy fats.
- Dried Fruit: Provides quick sugars for a boost when you hit a wall.
- Protein Bars: Essential for muscle recovery during the hike.
Worth noting: Always check the official Parks Canada safety guides before heading out. They provide up-to-date information on weather patterns and trail conditions that can change by the hour.
If you find yourself with extra energy after a long hike, you might be looking for a way to relax. After a long day on the trails, checking out some cozy spots in town is a great way to refuel properly.
What Are the Essential Safety Items for Every Hike?
The most important safety items are a physical map or offline GPS, a first aid kit, a headlamp, and a way to signal for help. Relying solely on your smartphone is a mistake; batteries die in the cold, and cellular service is notoriously spotty in the mountain valleys.
Even if you only plan on a two-hour walk, always carry a light source. If you get delayed by a slow group or a difficult section of trail, you don't want to be caught in the dark. A headlamp is much better than a handheld flashlight because it keeps your hands free for climbing or using trekking poles.
Here is a quick checklist for your pack:
- Navigation: Downloaded offline maps (like AllTrails) and a physical map.
- First Aid: Bandages, antiseptic wipes, and any personal medications.
- Emergency Shelter: A lightweight emergency bivvy or space blanket.
- Sun Protection: Sunglasses and high-SPF sunscreen (the UV rays are much stronger at altitude).
- Multi-tool: A small knife or multi-tool for gear repairs.
If you're new to the area, it's also a good idea to learn how to get settled in Canmore and understand local resources. Knowing where to find gear shops and local experts can make your transition into mountain living much smoother.
Always tell someone your expected return time. Whether it's a friend or a family member, someone needs to know if you haven't checked in by a certain hour. It's a simple step that can save lives in the event of an accident.
Steps
- 1
Check the local weather forecast and mountain conditions
- 2
Select footwear with high-traction soles for rocky terrain
- 3
Pack layers using the three-layer system
- 4
Verify your navigation tools and emergency kit